
As an artist, the process of creating pattern stamps is excruciating whether it be out in the garden or home. With hours and hours of brainstorming and execution, artists are in the constant hunt of making their lives a little bit easier.
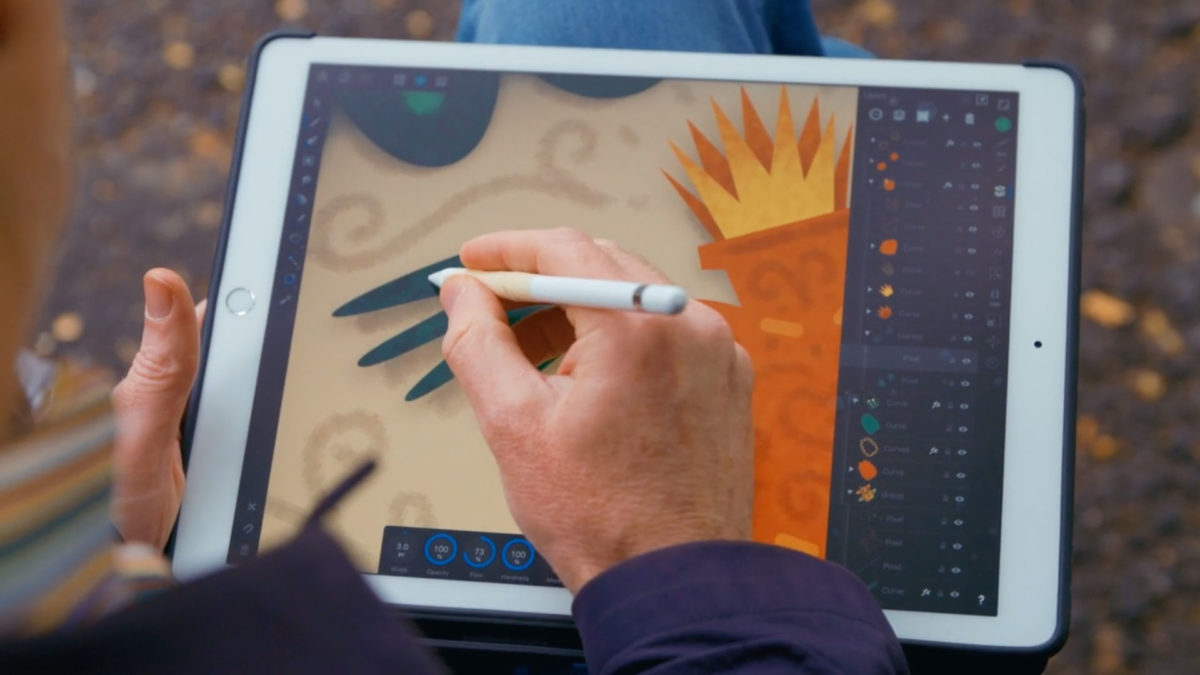
When making a pattern, stamp brushes help in making patterns quicker. Here’s how you can start:
Patterns
Perestroika produces a variety of unique and creative patterns for textiles, clothes, home needs, and craft materials.
Our collection of patterns is ever-growing to cater to all your design needs. You can purchase your chosen design, or we can license it for royalties. If you need a more unique design with your own personal touch, we can make a custom pattern for you. Perestroika will also be more than happy to collaborate with you in creating your own line of patterns, colors, illustrations, and placements.
You can collaborate, commission, or work with us for personal projects! We’d love to get in touch with you and make …
Copyright ©


LeaveComment